


Welcome to the SSJCPL Wireless Printing Services
- Patrons can send print jobs (documents, email messages, photos, etc.) to any SSJCPL printers wirelessly from any computers or mobile devices (laptop, tablet or smartphone) as long as they are not encrypted or password-protected.
-
Patrons don’t need to have a library card to use this wireless printing service.
-
Patrons can choose one of the following 3 wireless printing options:
Note: your computer/mobile device must have internet & WiFi capability or data service.
Email Printing
- To print email message(s), attachment(s) or both, simply forward your email message(s) to:
bw-sscjpl@eprintitsaas.com (black & white printout)
color-ssjcpl@eprintitsaas.com (color printout)
- Or, you can also compose a new email message, attach your file(s)/photo(s) to your email message and send it to one of those addresses above.
- You will receive an email instruction on what to use to retrieve your printout(s) at a library kiosk.
- Please ask library staff if you need assistance.
Upload printing file(s) on the SSJCPL eprinting page
- Save print job(s) on your device if you haven’t already done so.
- Open your internet browser (Google
 for Android, and Safari
 for iOS) and type in the library home page address www.ssjcpl.org.
 - Scroll down to the bottom of the page and click/tap on the wiressless printing icon
 .
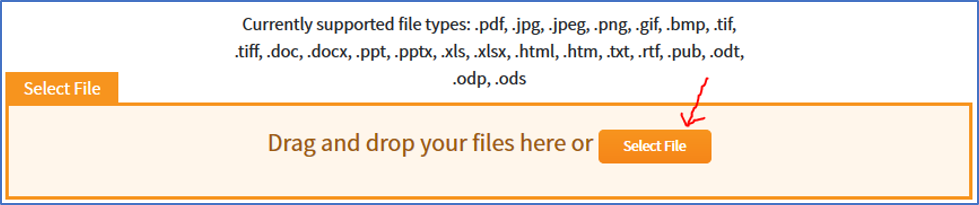
. - On the next screen, in the “Select File” box, click/tap on the “Select File” button (see red arrow on image below).
5. Locate and select the file from your device.
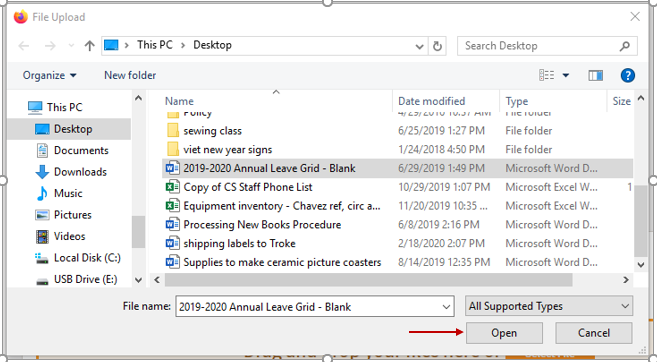
>For laptop/desktop users
- A “File Upload” window will pop up after you click on “Select File” button (see image below).
- Find your file then double click on the file name, or click on the file name and then click on “Open” button (see red arrow on image below).
>For Mobile Users
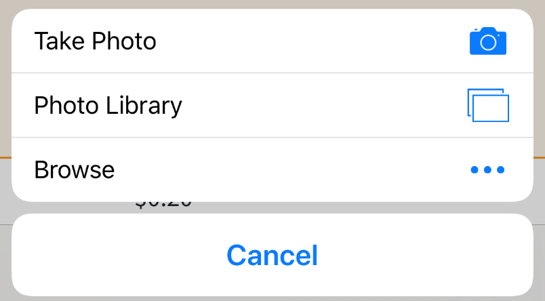
Choose one of the options shown on image above.
- Choose "Take Photo" option if you'd like to snap a picture of something/someone at the moment.
- Choose “Photo Library” option if your printing file is a photo/image, and then tap to select; otherwise,
- Choose “Browse” option.
This usually will open up “Recents” folder on your mobile device. If you don’t see your file there, tap on “Browse” option (iOS device) or the arrow pointing to the left (Android device) in the upper left corner of your screen. If you still can’t find your file, try save it on your device again and make sure it is saved.
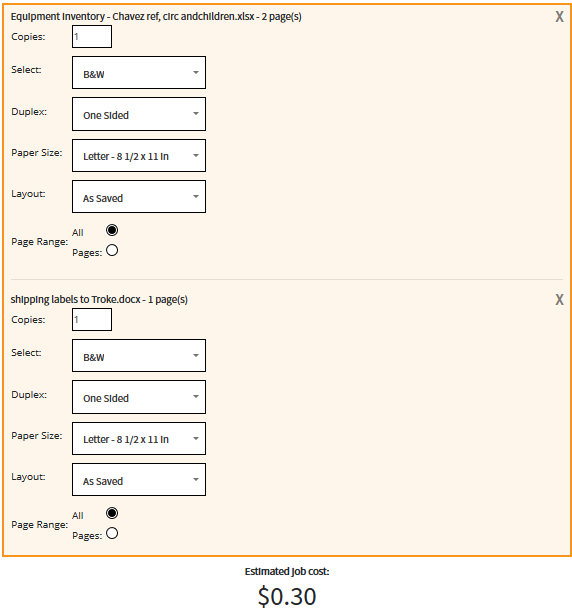
6. For each file selected, a pop-up dialog (see image below) will display under the “Select File” box.
For example, the image below shows 2 files were selected - "Equipment Inventory..." and "Shipping labels..." - and both were sent to black and white printers.
Note:
- You can only select 1 file at a time after tapping on "Select File" button; however, if you need to send more than 1 file to the printer, you can click/tap on the “Select File” button again to send additional file(s) to a specified printer.
- Your printing file(s) must be formatted in one of the currently supported file types listed right above the "Select File" box.
- Again, encrypted or password protected file(s) will not be processed.
7. Change any printer settings as needed. For example, edit the number of copies or select B&W printer or Color printer. Otherwise, skip it to the “User Info” box.
8. In the User Info box

- Type your first name in the “REQUIRED:” field. (Note: because patrons are not required to have a library card, they can type in just their first name or their library card number.)
- If you’d like to receive an email receipt of this submission, enter your valid email in the “OPTIONAL:” field.
9. Click/tap on the “Submit” button.
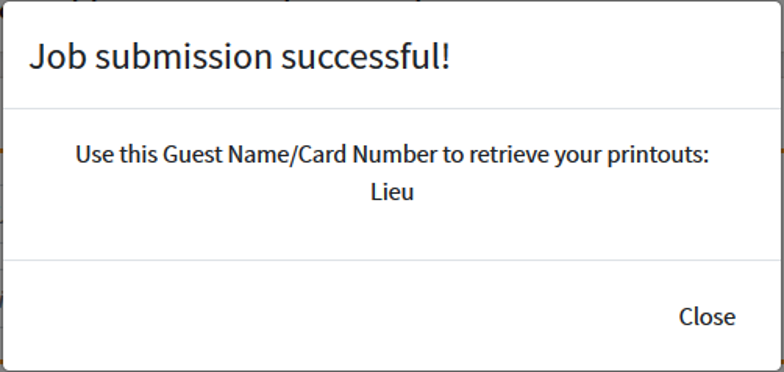
- A confirmation window will pop up after a few seconds to let you know that your print job(s) has/have been successfully submitted.
- Click/tap on the “Close” button to close that window.
Download the ePRINTit Public Locations app
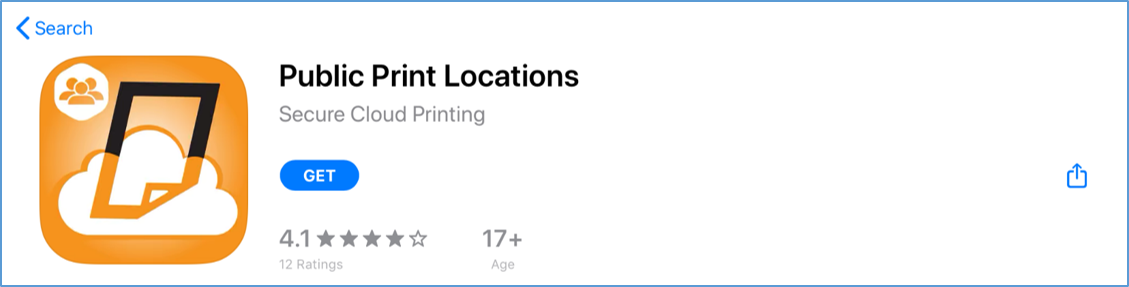
- Download/Install the ePRINTit app from the Google Play
 (Android OS) or from the App Store
  (iOS) on your mobile device.
- Tap on “Open” once the download/installation is completed.
- In the “Create an account” box, type your valid email address; then tap on “Go” button.

- An activation code will be sent to the email address you just entered above.
- Enter the activation code in the “Activate your application” box; then tap on “Active” button.
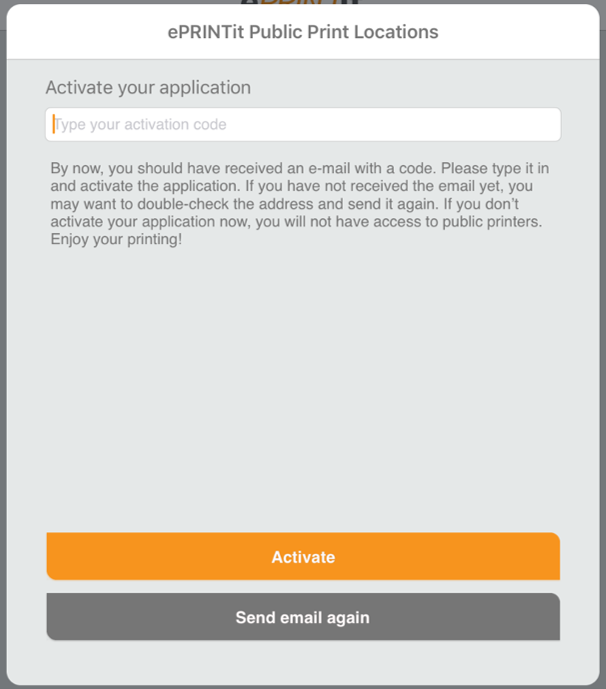
-
If you still haven’t received an email with the activation code after a couple of minutes, tap on “Send email again.”
- Once the code is verified, choose one of the available printing options from your screen to begin sending your print job(s) to a specific printer.

Happy Printing!
Copyright © Stockton-San Joaquin County Public Library. All rights reserved.
Sitemap | Contact Us | About | Press Releases


